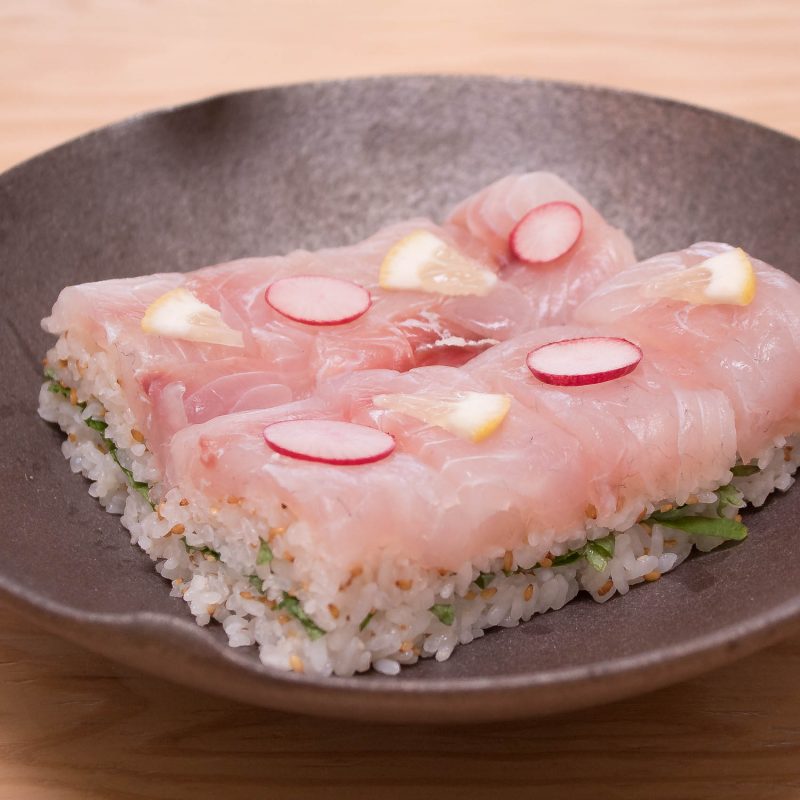
Tai (sea bream or also called tai snapper) is one of my favorite kinds of fish to eat both raw or cooked, and this fish is a symbol of celebration in Japanese culture. So, I love making this dish especially when I want to celebrate. The beautiful pink color of the fresh tai brings out the happy feelings and stimulates appetite. And, as long as you get the high quality sashimi-grade fish and rice cooked in Kamado-san, this dish is basically error-proof and always tastes wonderful. The fish is sliced not too thin, and I like to use a generous amount of it, so I can really enjoy the taste of it. The shiso leaves between the layers of the sushi rice gives nice aromatic quality to the dish, but if you can’t find them, it can be omitted.
Equipment
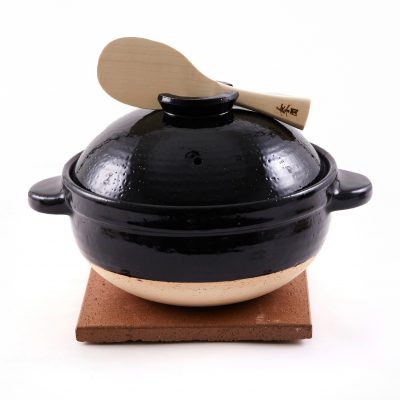
Kamado-san (3 rice-cup size)Servings
4 - 6Ingredients
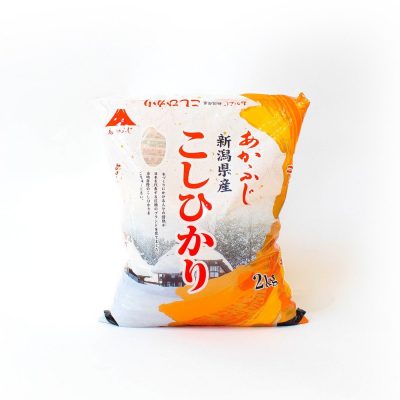
- 2 rice cups (360 ml) short grain rice, rinsed
- 1 1/2 cups (360 ml) water
- 2 tablespoons sake
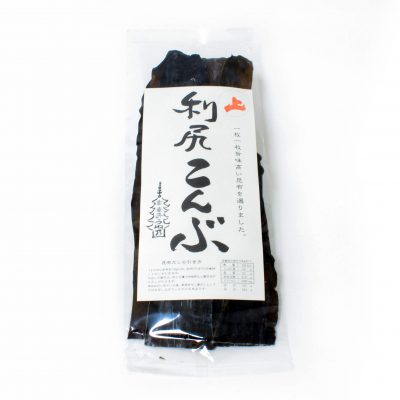
- 1 piece (2″ x 2″ or 5 cm x 5 cm) kombu (dry kelp)
(For Sushi-zu/ Rice Vinegar Seasoning)
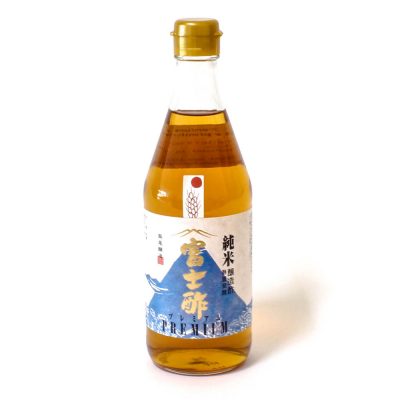
- 3 tablespoons and 1 teaspoon (50 ml) rice vinegar
- 1 tablespoon raw brown sugar
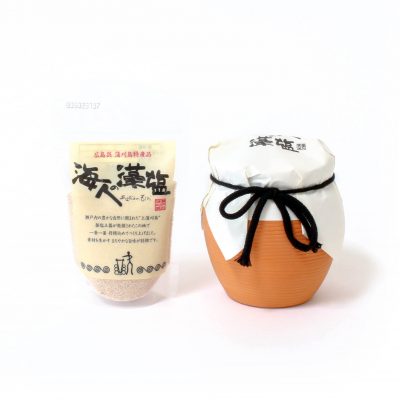
- 1 teaspoon sea salt
- 10 oz (300 g – about 2 medium filets) tai (sea bream or also called tai snapper)
- Sea salt, to taste
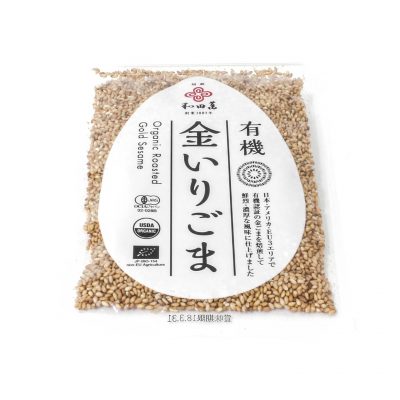
- 1 tablespoon roasted golden sesame seeds
- About 10 medium shiso leaves, cut 1/8″ (3 mm) strips
- Thinly-sliced radish, for garnish
- Thinly-slice lemon, for garnish
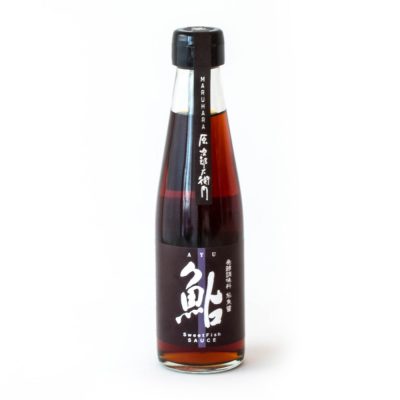
- Ayu fish sauce (can substitute with soy sauce), for serving
- Wasabi paste, for serving
Procedure
- Combine the rice, water and sake in Kamado-san, and place the kombu on top of the rice. Let the rice soak for 20 – 30 minutes.
- Cover Kamado-san with both lids and cook over medium-high heat for 13 – 15 minutes, or until 2 – 3 minutes after the steam starts puffing out of the top lid.
- Turn off the heat and let it stand for 20 minutes.
- Meanwhile, combine all the ingredients for the sushi-zu and mix until the sugar and salt are dissolved. (You can heat it in the microwave for 25 – 30 seconds first to make it easier to dissolve.) Set aside.
- Season both sides of the fish lightly with the sea salt. Cover and let it sit in refrigerator for 30 minutes. Pat dry.
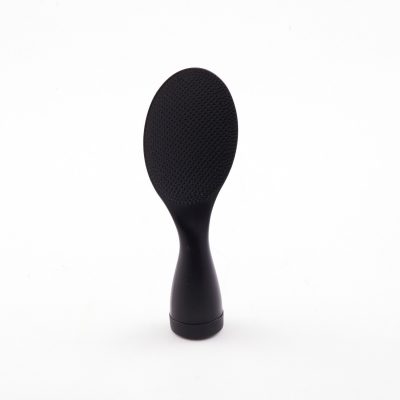
- Remove both lids of Kamado-san. Remove the kombu and quickly add the sushi-zu to the rice and gently and thoroughly fluff with a rice paddle. Add the sesame seeds and gently fluff again to incorporate. Cover again with only the top lid of Kamado-san, and let the rice cool down for 10 – 15 minutes.
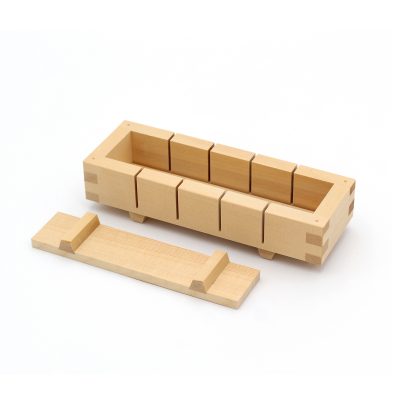
- Set the sushi mold (bottom piece and frame) on a work surface. Take a big enough piece of plastic wrap and line the inside of the mold.
- Cut the fish into bite-size slices, and spread evenly in the bottom.
- Take 1/2 of the rice and spread over the fish evenly. Fold the plastic wrap to cover the surface and press with the top wood press.
- Uncover and spread the shiso leaves to cover the surface. Take additional 1/2 of the rice and spread evenly. Fold the plastic wrap to cover the surface and press with the top wood press again.
- Gently flip the mold upside down, and remove the sushi (keep it wrapped in plastic) from the wood mold. Let it rest in refrigerator for 1 hour or so.
- Remove the plastic wrap, and garnish the sushi with some slices of radish and lemon.
- Slice, and serve with the ayu fish sauce and wasabi.
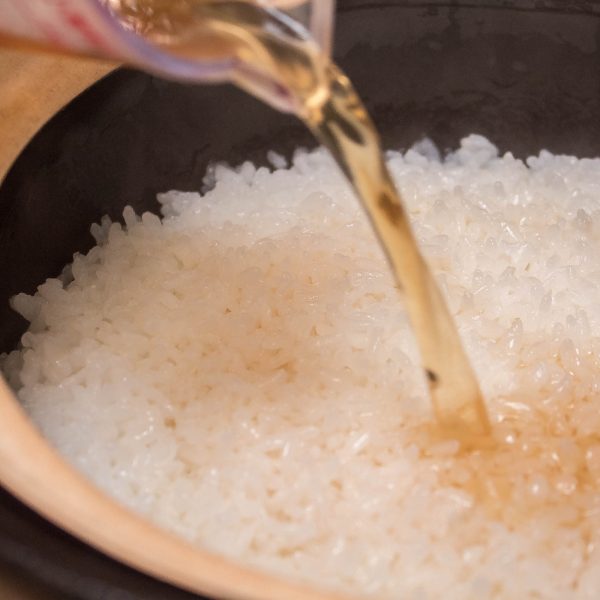
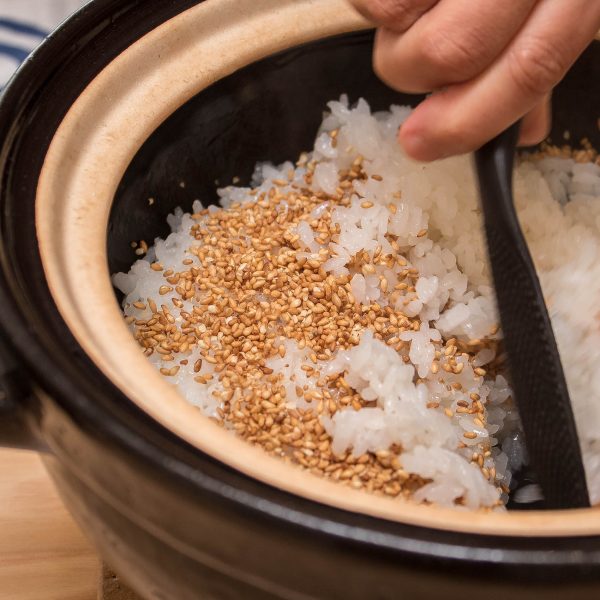
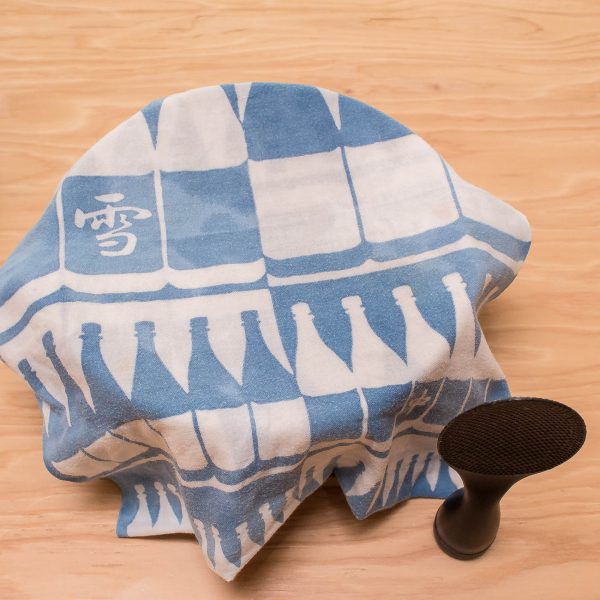 As soon as the rice is cooked and rested for 20 minutes, it’s seasoned with sushi-zu, and let cool down.
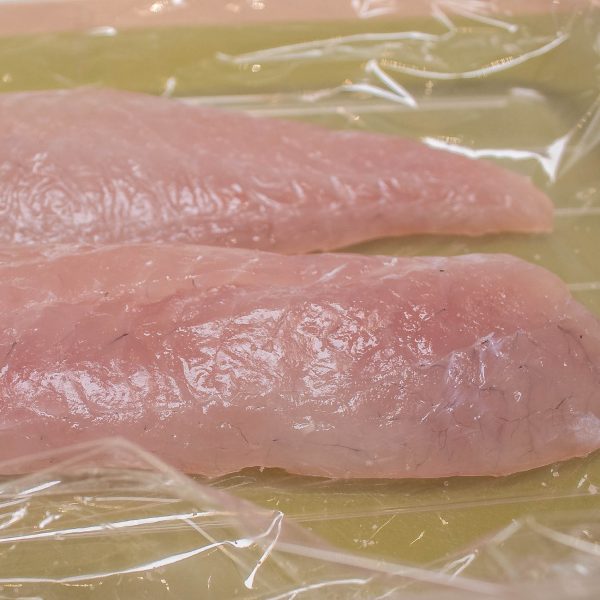
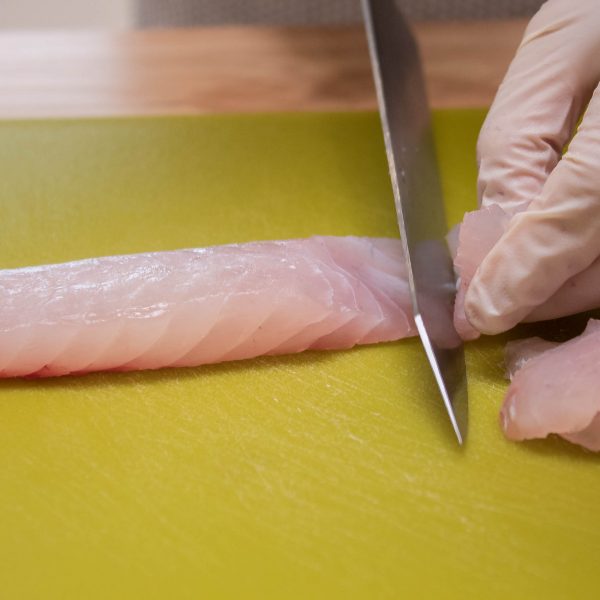
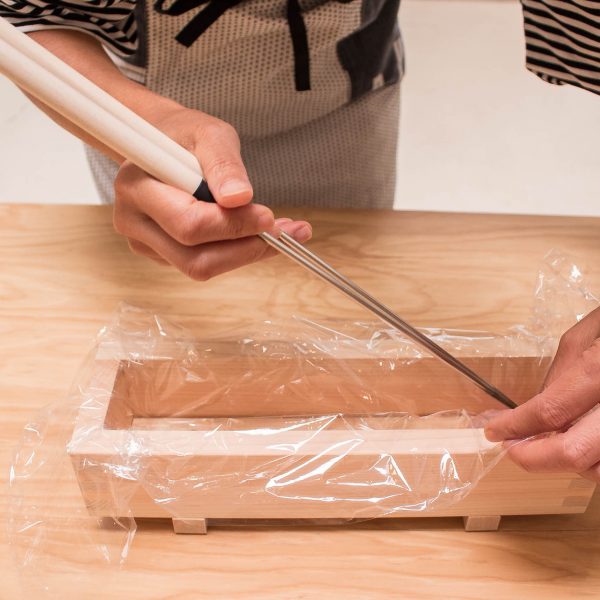
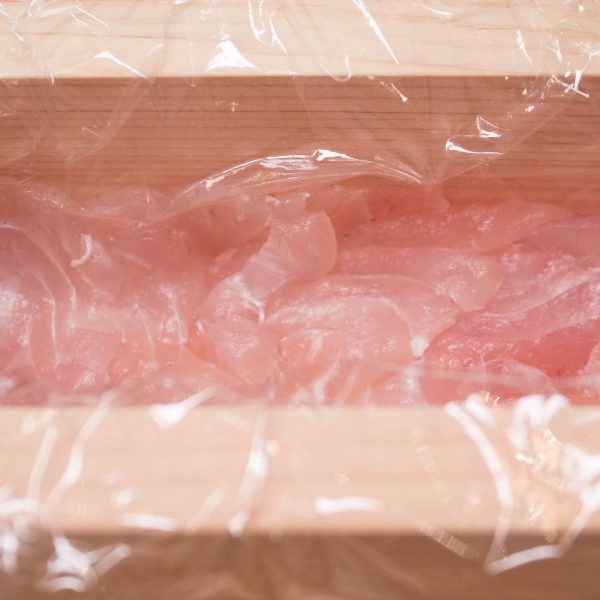 Tai is pat-dried after it’s seasoned with sea salt. It’s carefully sliced and spread into the bottom of the wood sushi mold.
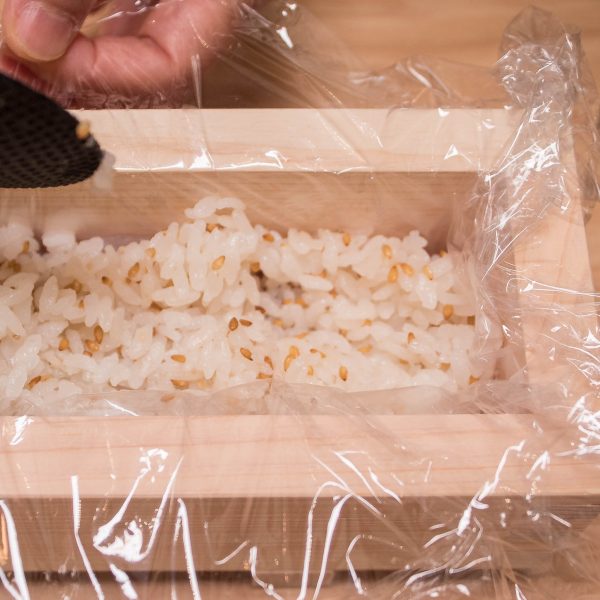
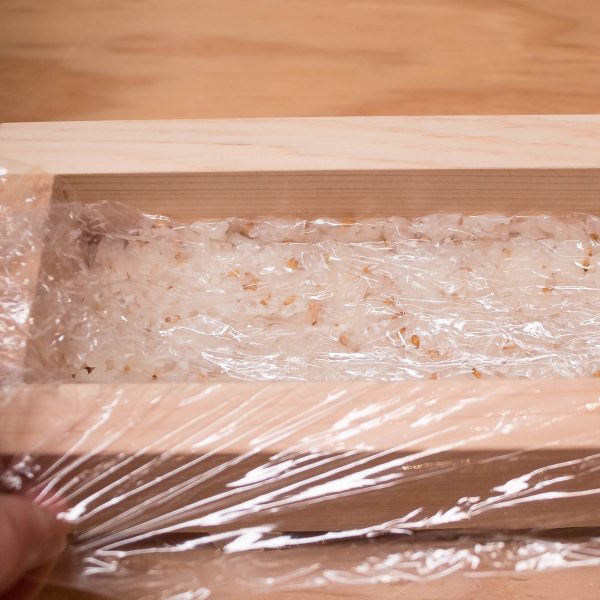
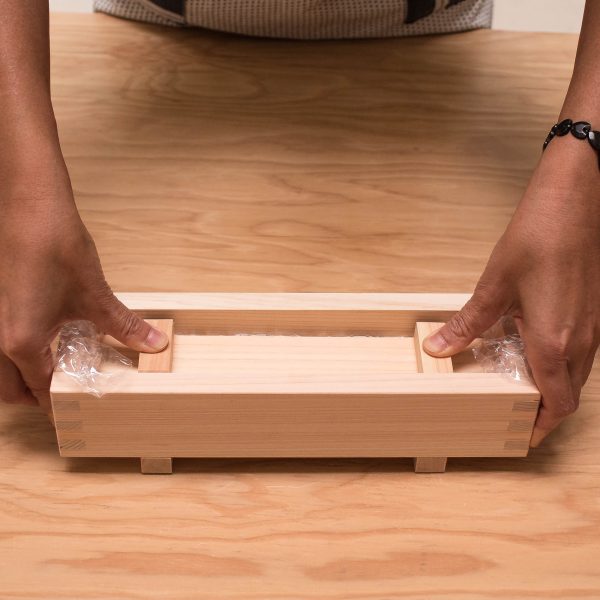 Half of the sushi rice is spread over the fish, then pressed.
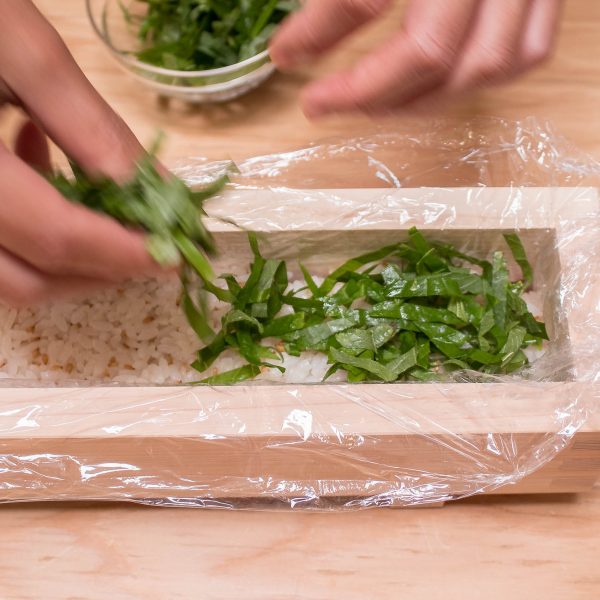
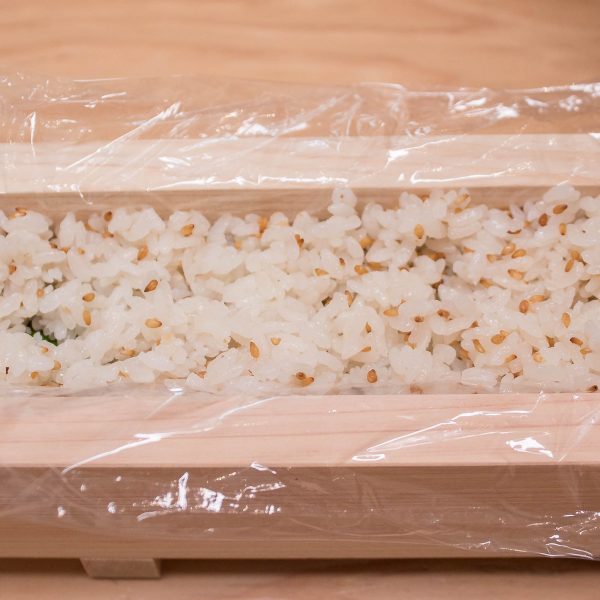
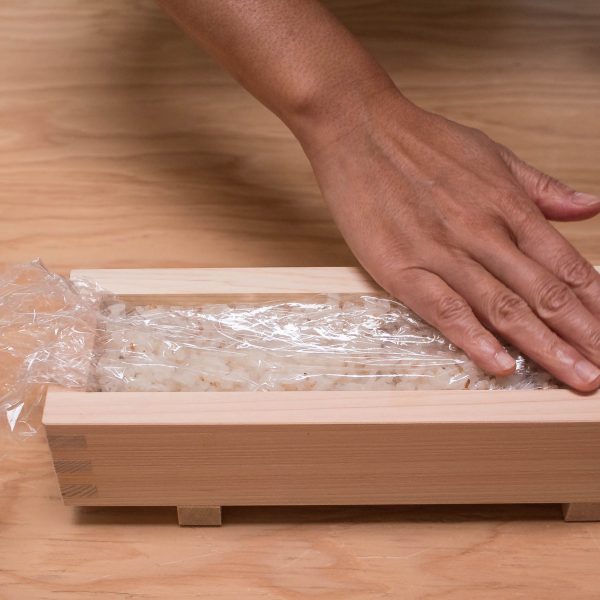
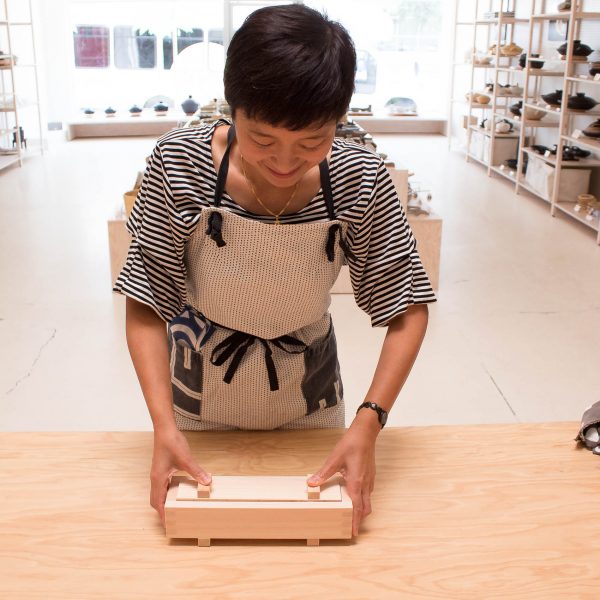 Layered with shiso leaves and the remaining sushi rice. Then, it’s pressed again.
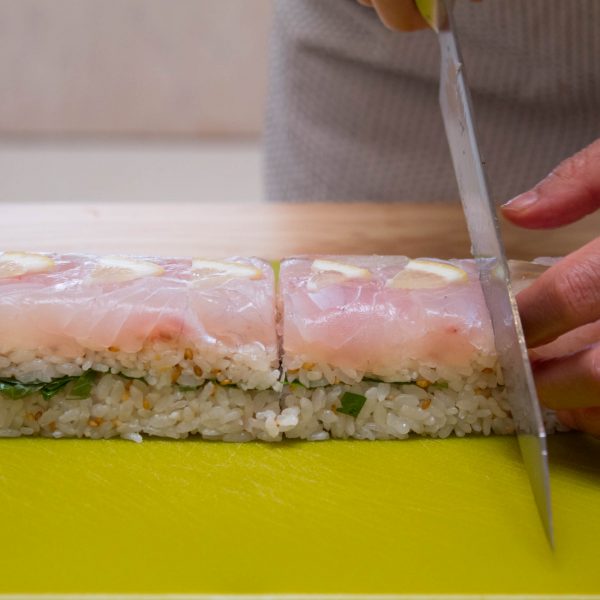
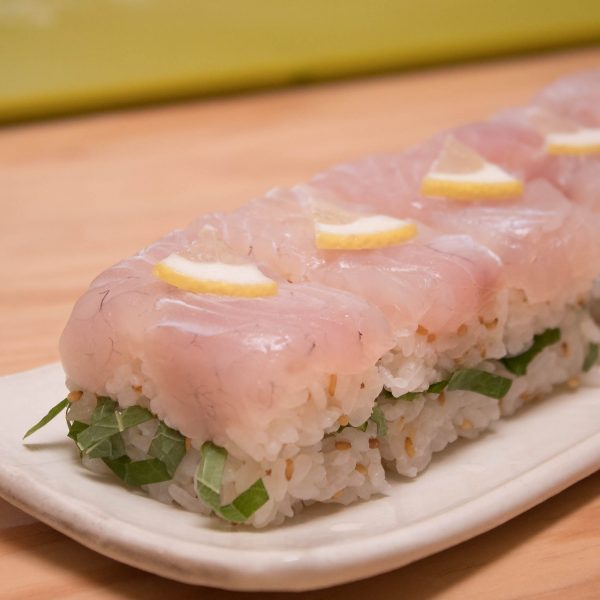 Once it’s complete, keep the sushi wrapped with plastic and let it rest in refrigerator for 1 hour or so. This will help getting the sushi rice set nicely (otherwise, it will be hard to slice). Then, take it out and slice to serve.

